Power = voltage * Amperage
Solving for amperage yields:
Amperage = Power / Voltage
Power consumed = 2*35 watts = 70 watts
Voltage = 12 to 15 volts
Amperage = 70 / 12 = 6 amps
Amperage = 70 / 15 = 4.7 Amps
Amperage draw will be between 4.7 to 6 amps for two 35 watt lamps
(2) 35W bulbs = 70W total draw
If you're running 12V, divide 70W by 12V and you get 5.8A, give it a little extra leeway and call it 7A.
The thing about fuses is that they're not designed to protect the equipment they're wired to, they're designed to protect the wiring itself.
So size your fuses to the wire gauge you're using and you'll avoid damaging the wires if they rub against a ground and short out while maintaining maximum current available to utilize.
Most electrical components that are sensitive to amperage have built in fuses anyway.
Jerry beat me to it by a few minutes LOL
thanks for the explanation. all the wiring i used is 14 gauge.
Crank was rebuilt and motor was put together the other day using the same specs as it was when he took it apart, but after he tightened the bolts on the cases, he wasnt happy with it. Felt it was too tight and not spinning freely so he split the cases again and rebuilt the crank a second time. He finished up this afternoon so the motor is back in the garage at my house and now I begin putting the whole thing together! Hopefully tomorrow we fire it up and I finally get to lay into her and see what she's got!
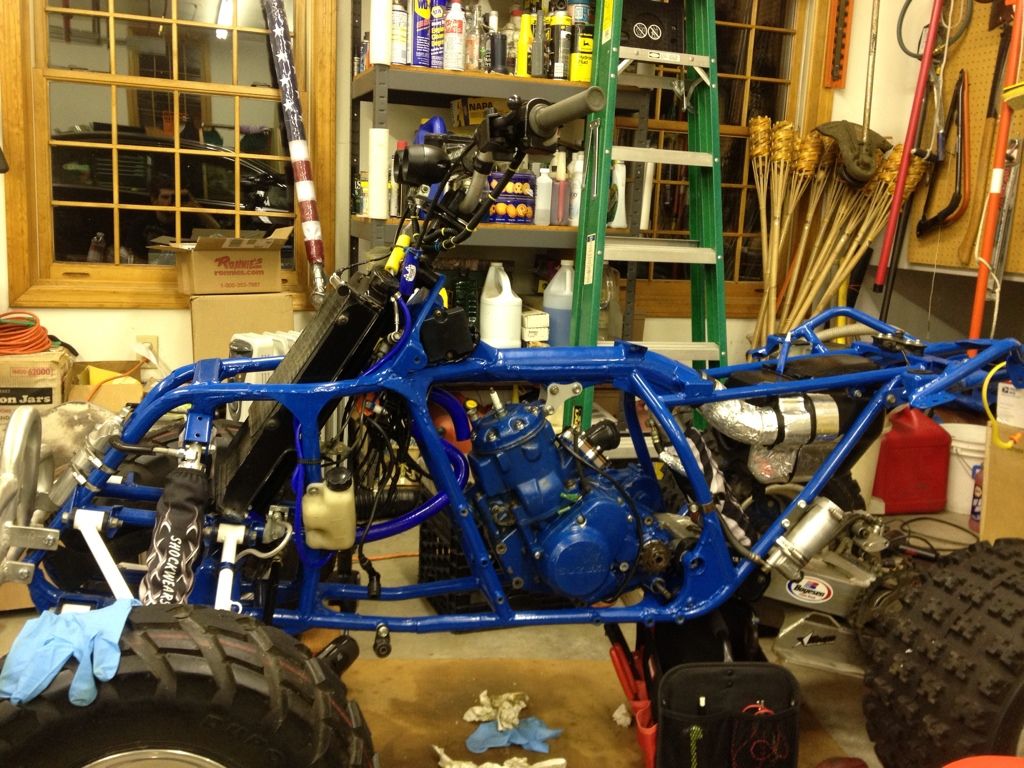
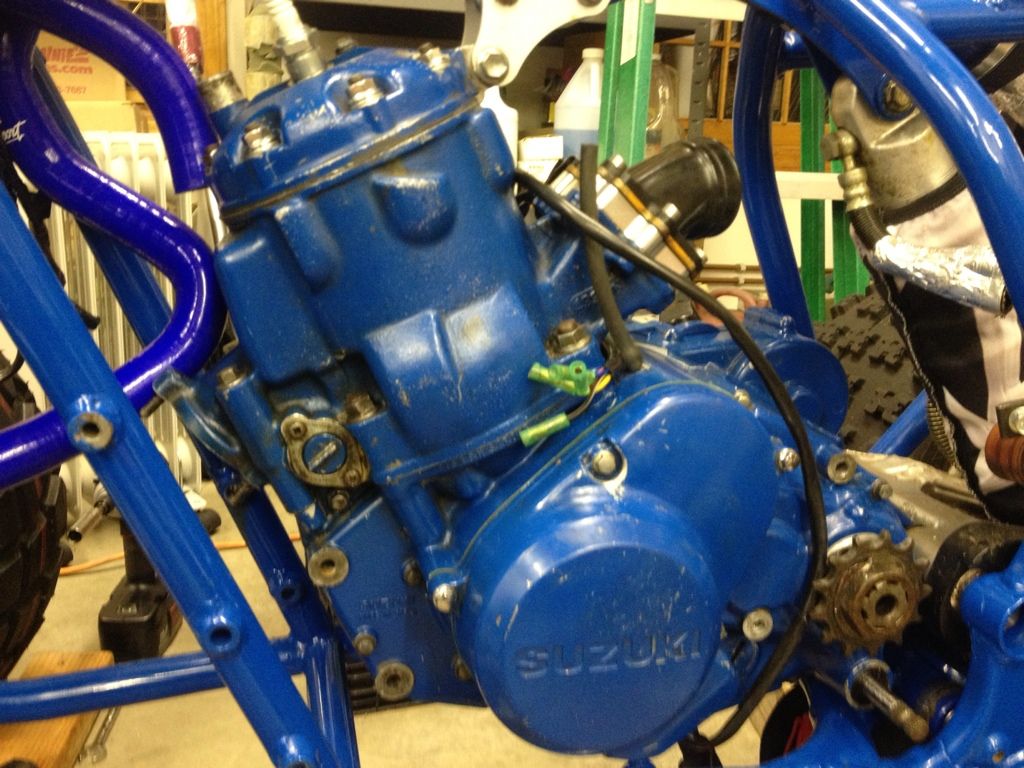
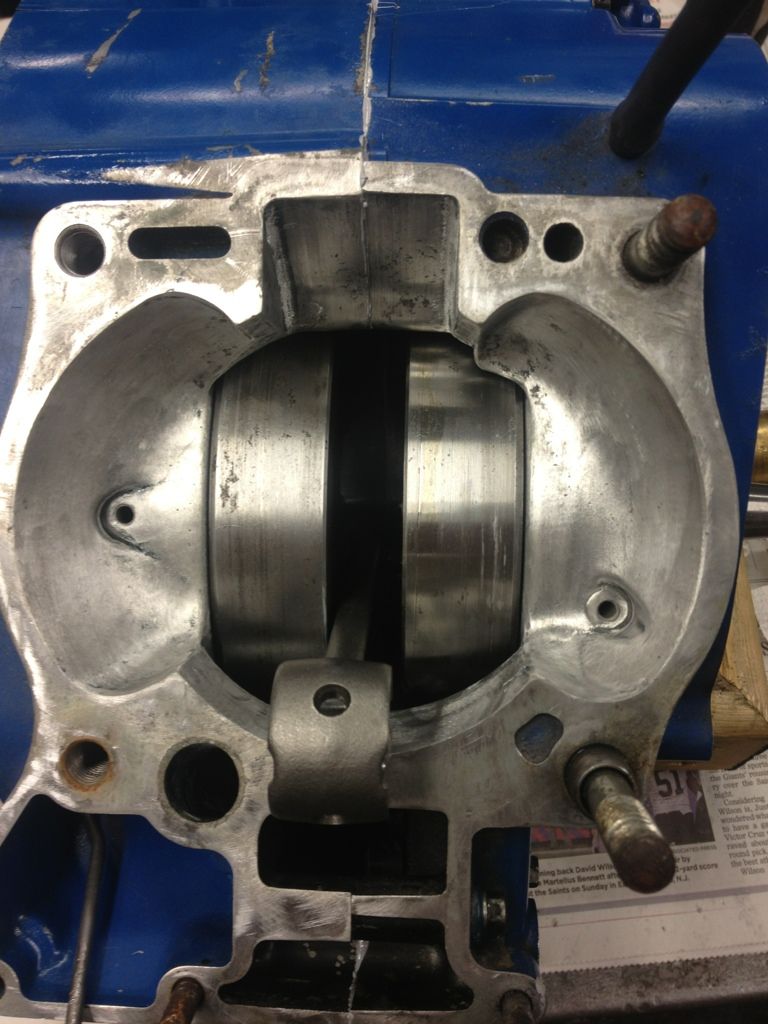
Motor before the jug went back on
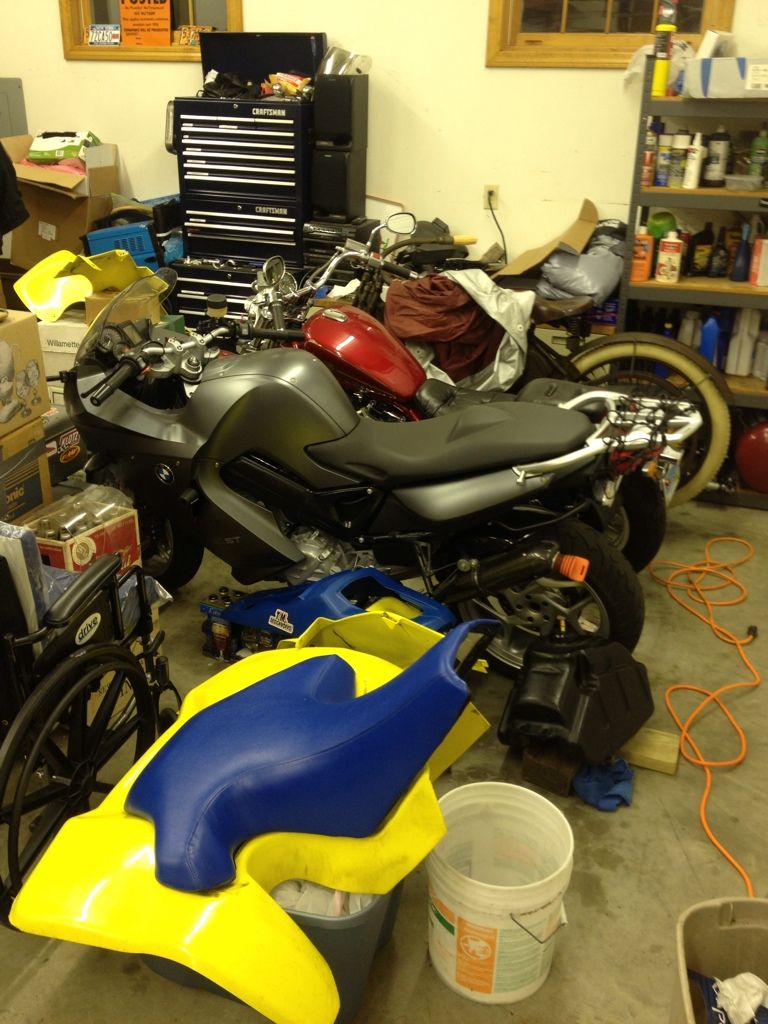
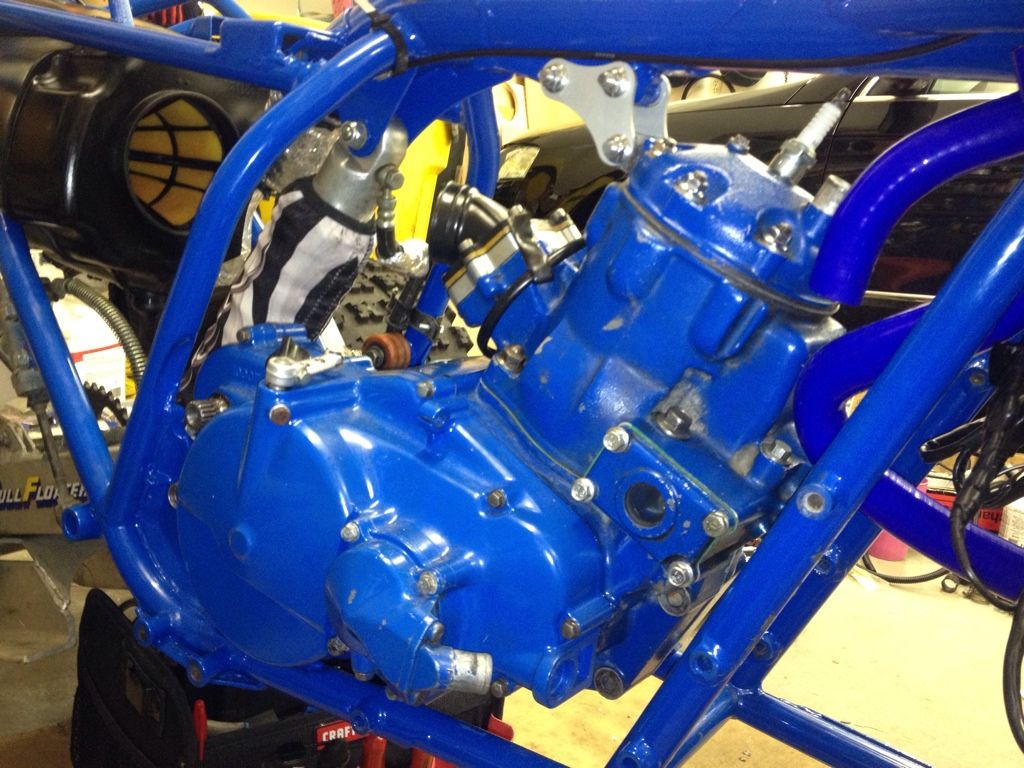
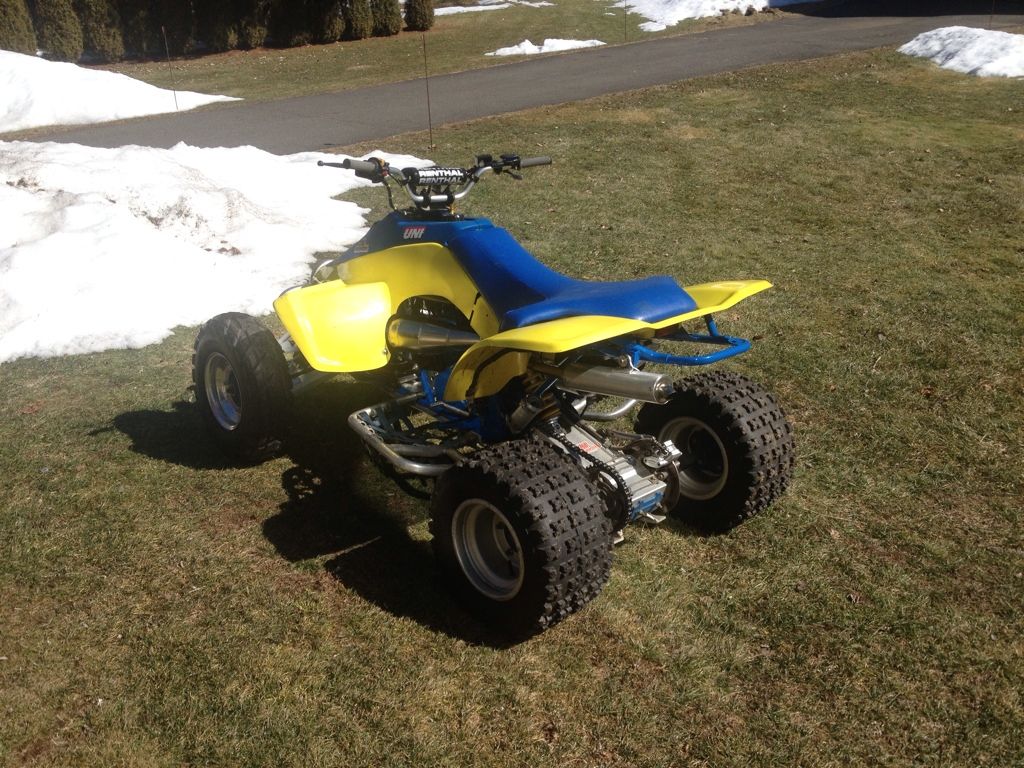
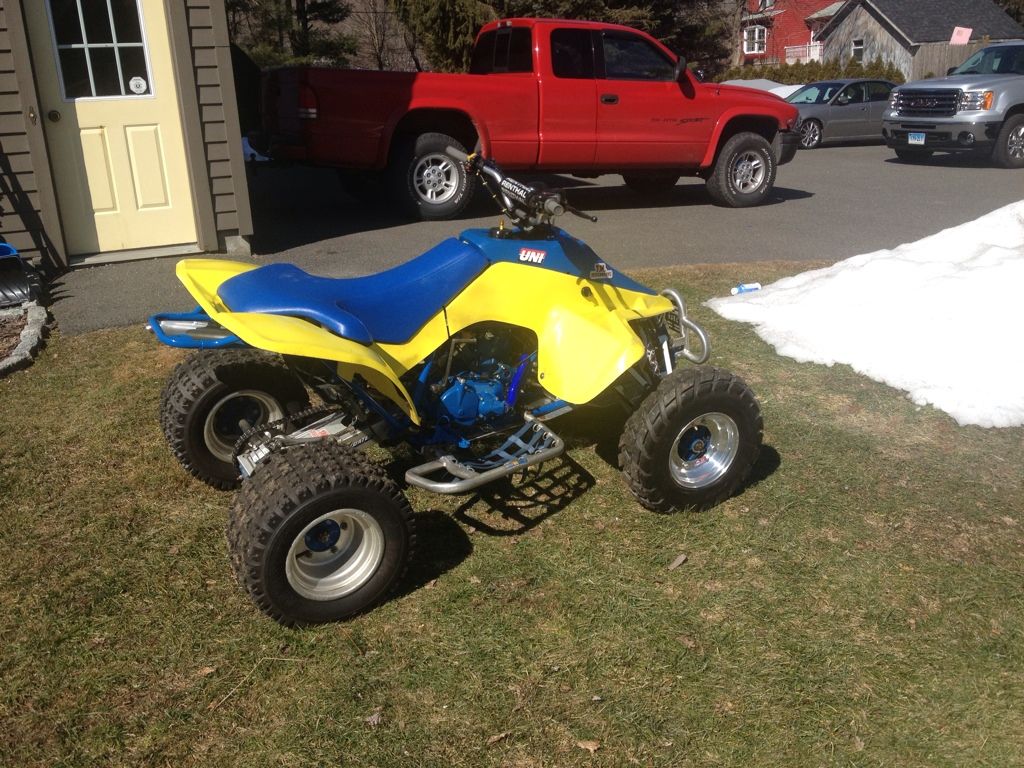
Where it sits now, but hopefully not for long!
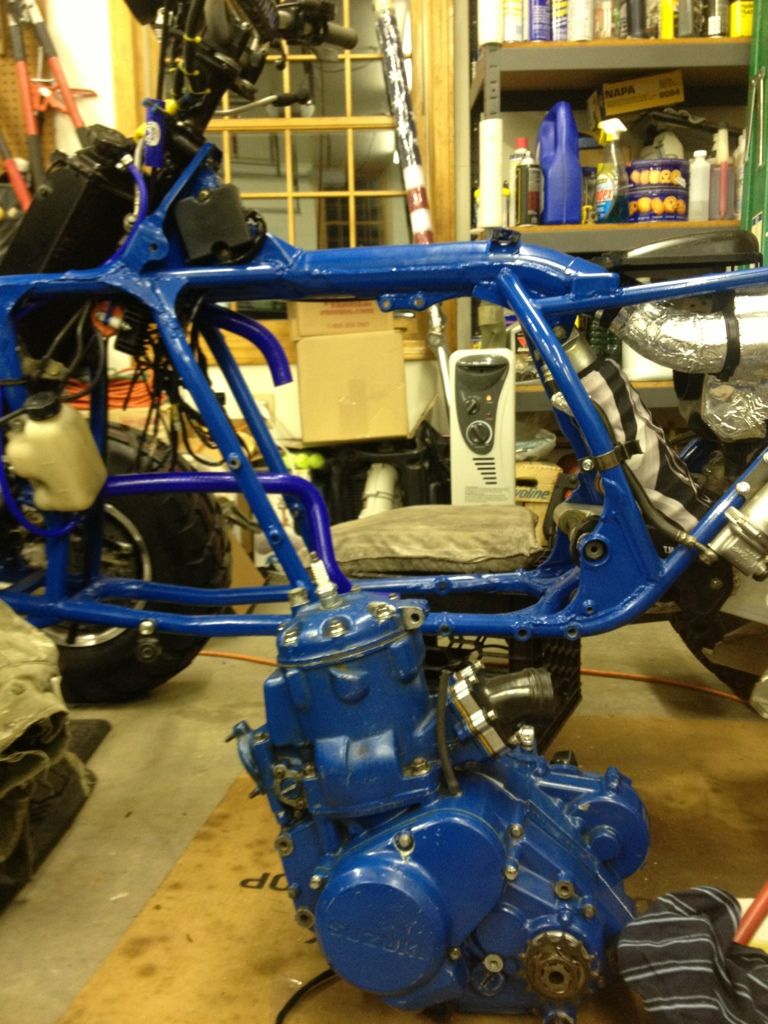
The reed cage is installed on the wrong side of the aluminum spacer... Or am I wrong?
![[|]](https://suzukiquadracerhq.createaforum.com/Smileys/users/suzukiquadracerhq/hide.gif "Hide")
Having some heat issues (noticed the aluminum wrap on your airbox & air boot) with your pipe?
Reed cage spacer is on wrong. It goes between the reed cage and cylinder to move the reeds out from the intake port.
The reed cage is installed on the wrong side of the aluminum spacer... Or am I wrong?
Having some heat issues (noticed the aluminum wrap on your airbox & air boot) with your pipe?
I haven't run it long enough to know if there will be a heat issue but the Trinity pipe runs quite close to the airbox so I put it on there pre-emptively so I dont melt anything.
Reed cage spacer is on wrong. It goes between the reed cage and cylinder to move the reeds out from the intake port.
Thanks for the heads up I will switch it. I hadn't even really looked at it closely, that was how it was installed when I bought it. Not really surprised though as it seems the previous owner was not very mechanically inclined. Thankfully thats not a big deal since I took the whole thing apart anyhow. At least he had good taste in parts and mods. I am extremely lucky that the detent spring was dislodged when I got it or, I never would have gotten inside the motor and I would have ended up having catastrophic failure rather than simply needing to have the bottom end rebuilt.
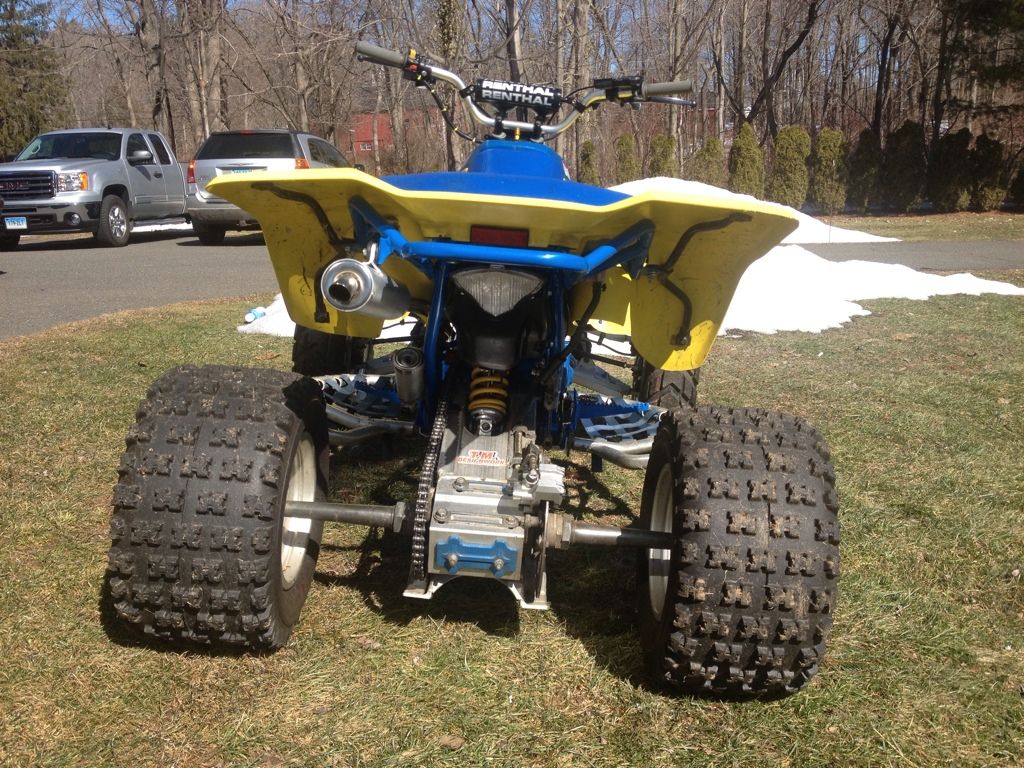
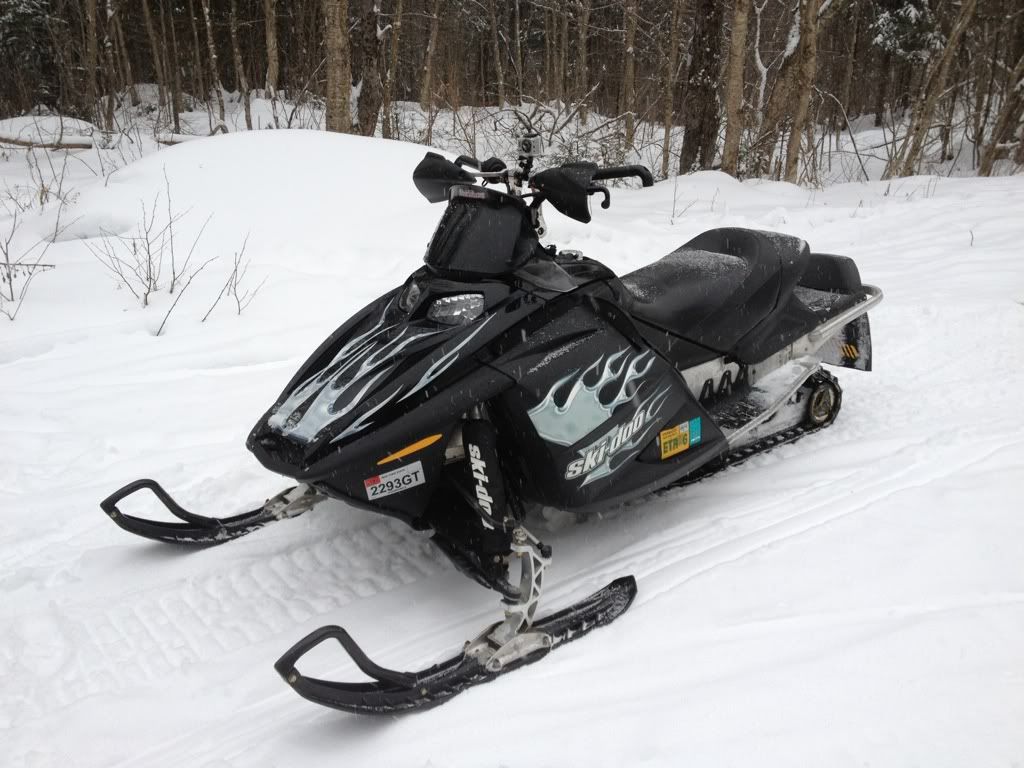
I will keep this thread updated as I work through the re-assembly. I just spent some time with the wire wheel on the bench grinder as all the engine mount bolts and the swingarm bolt were quite corroded and devoid of the grease that should have been on them. They are all cleaned up and I am just about to dig in on getting the motor back in the bike. I plan to try and get the motor back in and snugged up, the carb mounted, and connect the final wiring from the stator to the rest of the wiring system tonight. We will see if I get further than that but realistically the chain, the exhaust, gas tank, plastics, and the rest will have to wait until tomorrow morning. My main goal is to have it totally back together while there is still sunlight so I can start it up and take it for a test ride. There is a few inches of snow left on the ground but I took those Duro flat track tires off of the back and put the Razrs on so I should have enough grip to tear through the snow tomorrow. We actually may get some more snow tonight but if the snow is too deep I will just take the snowmobile out and do a few laps around some of the fields to pack down a track to ride the quad on.
Perfect time for leak-down check.
Looking good!! Coming along.....
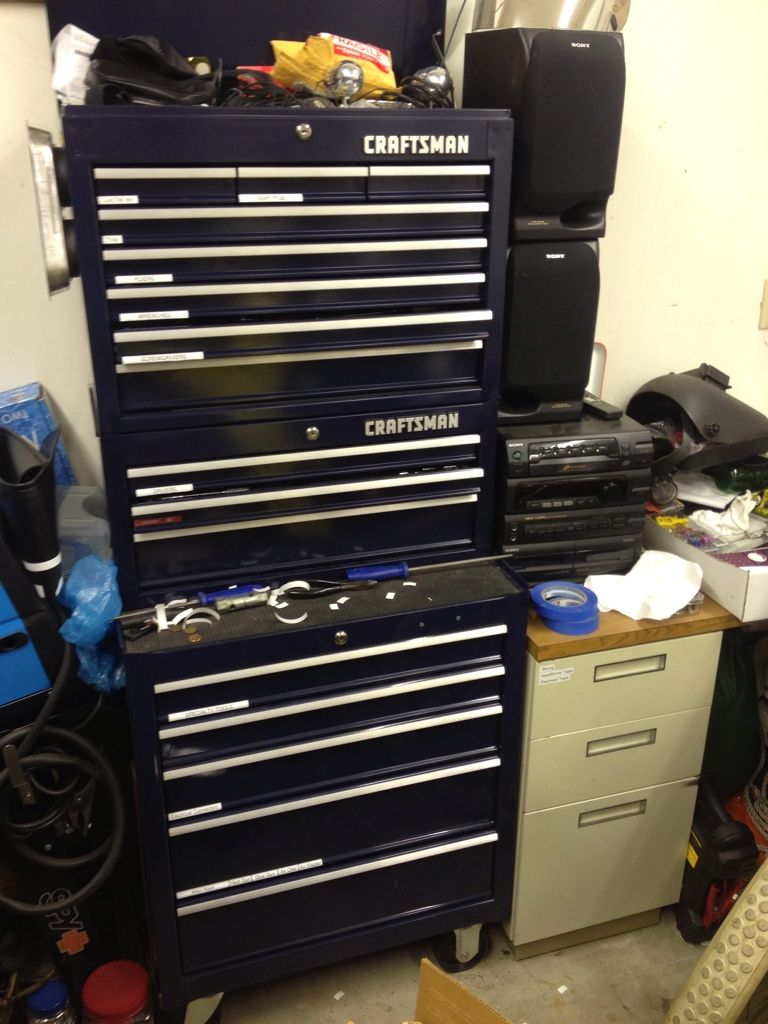
Looks good. Just one thing.... please dont paint your tool box and use it for a night stand!!!

hahahaha.
i inherited a full stickley cherry bedroom set with two nightstands, a tripple dresser, mirror, tallboy, and queen bed frame so i dont think that will be happening any time soon
Perfect time for leak-down check.
Yeah I dont have a leak down tester, and I have confidence in my builder so I highly doubt there will be any issues that would rear their head from taking the time to do one.
Perfect time for leak-down check.
Yeah I dont have a leak down tester, and I have confidence in my builder so I highly doubt there will be any issues that would rear their head from taking the time to do one.
Risky move - its your bike.
no need to run the head stay, it might give you a head gasket problem, motor flexes alot
and it pulls on the head, thats when you will get a leak. most guys do not run the head stay.
but bike looks good.
no need to run the head stay, it might give you a head gasket problem, motor flexes alot
and it pulls on the head, thats when you will get a leak. most guys do not run the head stay.
but bike looks good.
Hmm never heard that before, interesting. Wonder why Suzuki designed it to even have one then? I think I always ran it with it when I used to own it and dont recall having any issues.
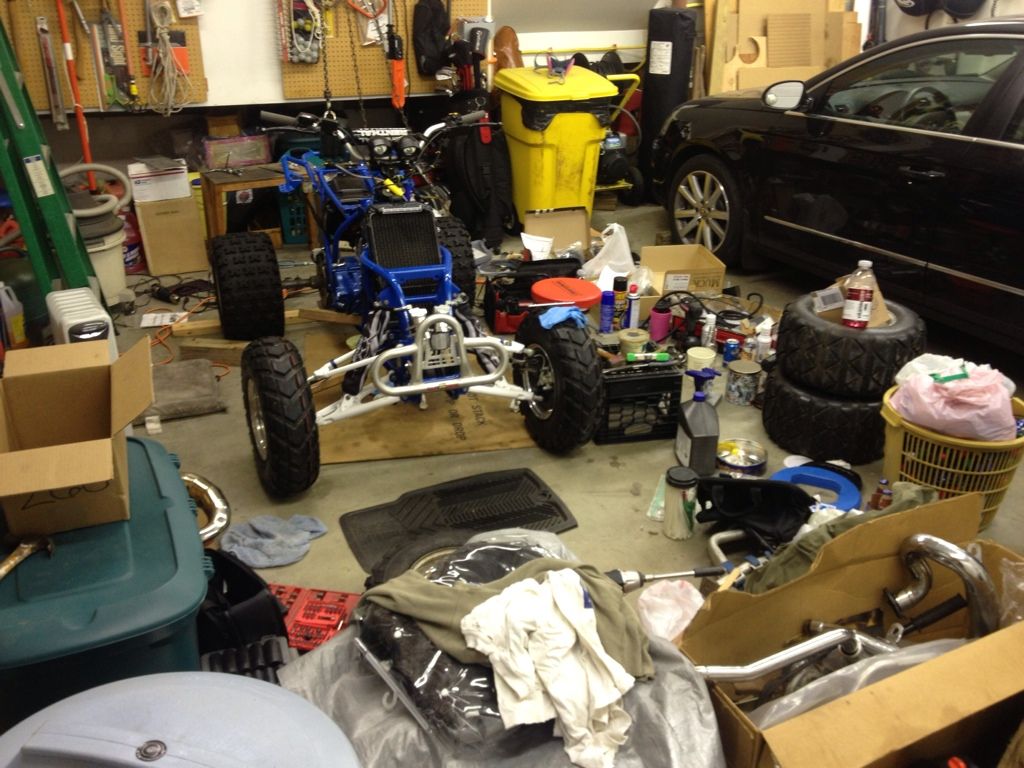
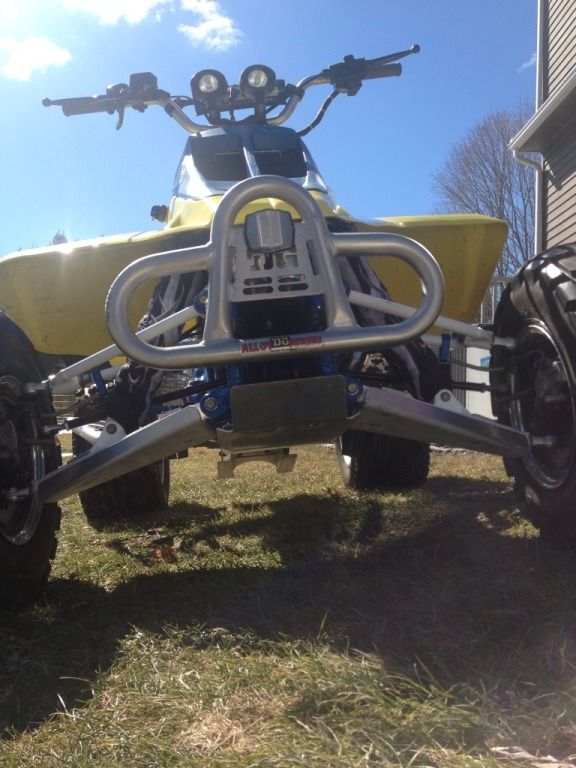
dealing with fitment issues with the PRM belly skid plate. When I bought this zilla (the first time in 2001) it was tweaked and
**** in the front end. Straigtened and re-welded but its not perfect. the front of the skidplate is about an inch off to the left from where it should be on the frame. having my buddy take a look at it today to see if we can tweak it or cut, bend, and re-weld it to fit right. the joy of putting together a quad from 1989 lol... Makes me wonder how many owners it had before I got a hold of it the first time in 2001. I feel like richard geere in pretty woman just minus the being richard geere part lol...
A little suggestion before you bolt the engine to the frame, let it pivot on the swingarm bolt until you get the pipe on.
That way you can move the engine around as you're installing the pipe, and once the pipe is mounted up you can install the engine bolts.
It was the only way I could install the 250 Q pipe in my frame (no clearance at all) and it simplifies things on hybrids and zillas if you have any clearance issues.
You can install the pipe while the engine is bolted down (obviously), but being able to move the pipe helps installation, and it's not like you're doing any more work than you normally would.
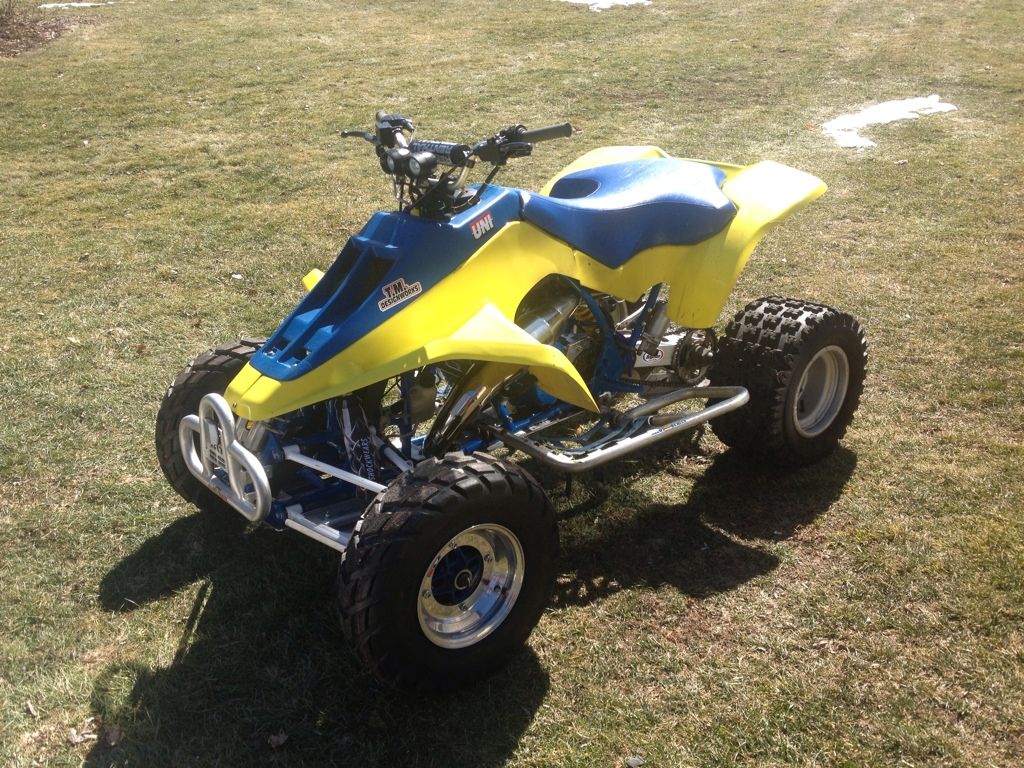
Nice looking bike. I cant wait to watch a video of you riding it.
Turned out great

Get us some riding video's.